Making a Good Photo Great:
Tips on post processing in Photoshop
With every click of our camera we are looking to achieve the “picture perfect” photo straight away. There are many benefits to getting it right in camera. Great light, catch lights, good color and depth, and spot on focus are just a few of the benefits that come from taking the extra steps to getting it right in camera. However, even the most “picture perfect” of photos can benefit from a little touch up. We have found that Photoshop is the perfect tool for us to be able to control these touchups.
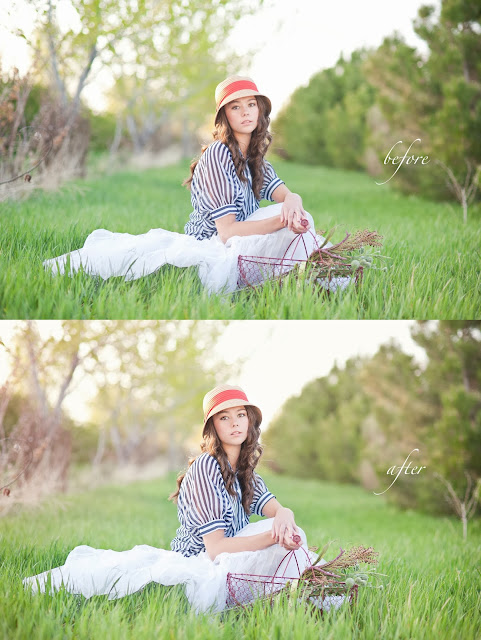
The first adjustment we make to each and every photo is an S curve Layer. The S curve is a very powerful tool, and once learned properly can go a long way in manipulating a photo to your advantage. A great place to start is what we do to every photo. We use the S curve on every basic edit in order to add some brightness and contrast. Once we create the S curve layer, we adjust the opacity of the layer to our liking, giving it just a nice little pop.

We feel that there are certain parts of every image that can benefit from a bit of selective lightening and darkening. The dodge and burn tool is great for this. Be sure to play with the opacity of your brush, as well as the flow of your brush in order to create a soft and natural look.

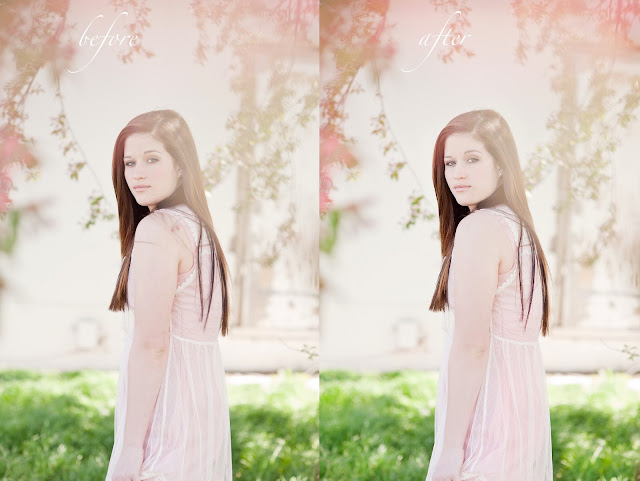
We want our images to be as natural as possible while still having a beautifully touched up and “finished” look to them. For this we use the spot-healing tool along with the clone stamp. We fix things that aren’t permanent on the skin, and we minimize imperfections such as under eye circles and wrinkles. Be sure to watch the opacity and the flow of your tools here as well. You don’t want to make them look fake.
If you have an image with something that distracts the eye and takes away from the subject, these tools come in handy here as well. In the picture below we were able to remove all of the hair from the shoulder, and bring the attention back to the beautiful girl.
The next step in our basic edit is the skin. There are many skin softening tools and actions available for Photoshop. No matter which tool or action you use, remember not to apply the process to the entire photo. This will allow you to retain a beautifully sharp image while still having the soft glow on the skin.

To give our photos a final finish we sharpen them just a bit. You can choose the desired look you are going for by adjusting the opacity.
This quick and simple 5 step basic edit adds just enough punch and flare to take a good photo and make it great!
